User Controls are commonly used in ASP.NET web sites. Their main idea is to bundle a set of controls (buttons, text fields, textareas, etc) and form a new and more complex control. That could be useful in the case that we want to use the same set of controls and functionality across a number of pages in a site.
This tutorial will demonstrate how we can make use of User Controls in WinForm applications to create a Multiple Document Interface (MDI in short).
In general, an application can either have a Multiple Document Interface or a Single Document Interface. Their definition and main difference is stated below:
Graphical computer applications with a multiple document interface (MDI) are those whose windows reside under a single parent window (usually with the exception of modal windows), as opposed to all windows being separate from each other (single document interface).
Further reading on their definition and differences you can find on Wikipedia and on the MSDN Library.
In a typical WinForm application or any desktop application, each Window Form represents distinct functionality and serves a specific task. Therefore, we can conclude that we will create separate Forms for each task.
The advantage is obvious as each task is ‘grouped’ or to phrase it better is encapsulated within each Form. The disadvantage of such implementation is that our users will have to cope with an application that has numerous windows appearing and disappearing on their desktop and let me share with your a little secret: Most users cannot cope with multiple windows open. They tend to maximize the one that they are currently working with and minimize it to find the next one they need. We may use multi-tasking operating systems but our users are mainly single-task beings.
This tutorial will demonstrate how we can make use of UserControls to encapsulate the presentation and functionality of each application task. Our application will have one central/main winform that will load the contents of each UserControl depending on the user selection from the application pull-down menu items.
Project Creation
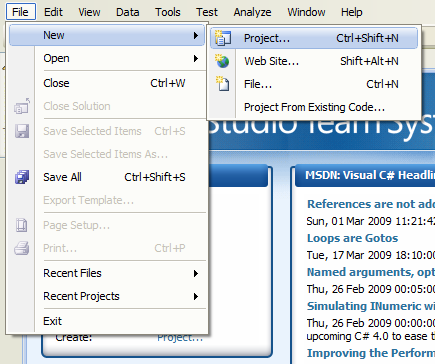
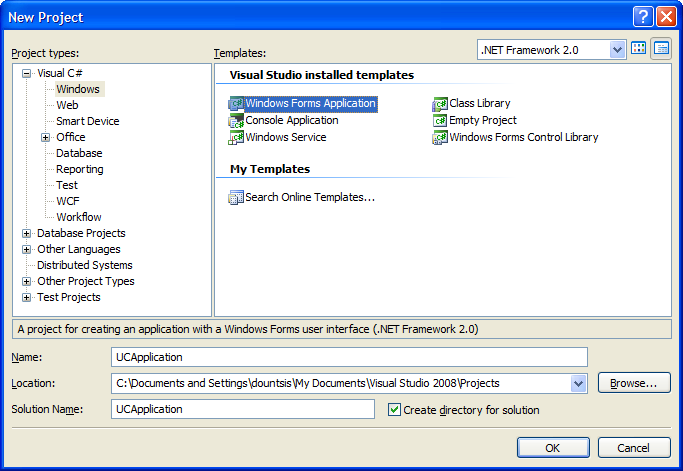
Let’s kickstart this tutorial by creating a brand-new project in Visual Studio. We select File/New/Project… and select the “Windows Form Application” project template as shown below. I have named the project as ‘UCApplication’.
Customize Skeleton Project
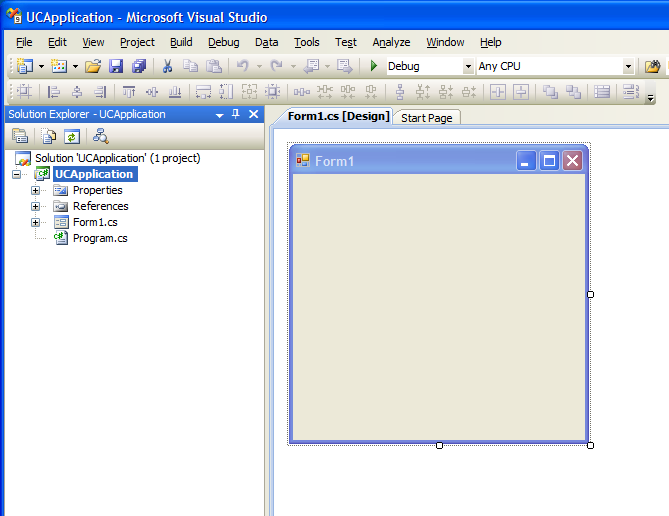
The next step is to customize the skeleton project that Visual Studio has created for us. By default Visual Studio has created a single WinForm that is named as Form1. Our application will have only one winform in which we will load our UserControls. Therefore we will rename Form1 to MainForm.
In the Solution Explorer (the bar on the left-hand side of the Figure 3), we rename the Form1.cs to MainForm.cs (right-click on the file and select the option Rename or click on the file and press F2). Visual Studio will prompt a question whether we want to rename all the references of the code element ‘Form1’. We answer yes so that every occurence of the object Form1 will be changed to MainForm.
Note: You can always make visible the Solution Explorer by selecting View/Solution Explorer from the drop-down menu.
UserControls
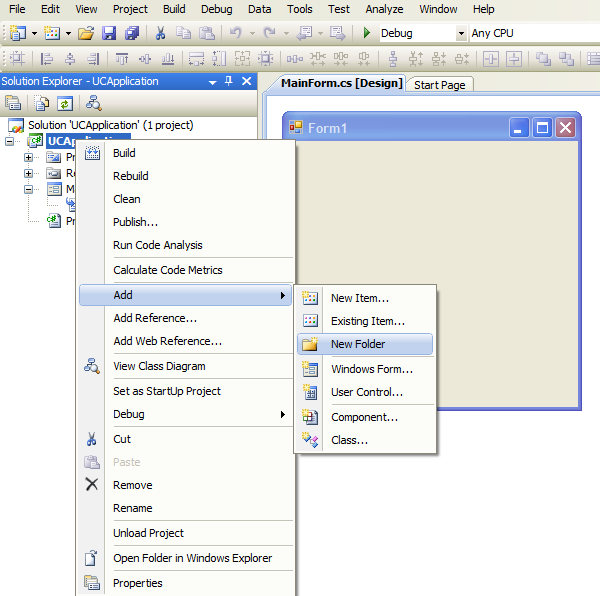
The next step is to create a folder in our project that will host all the User Controls of our application. Right-click on the Project name and select the Add/New Folder and name it as ‘UserControls’ (Figure 4).
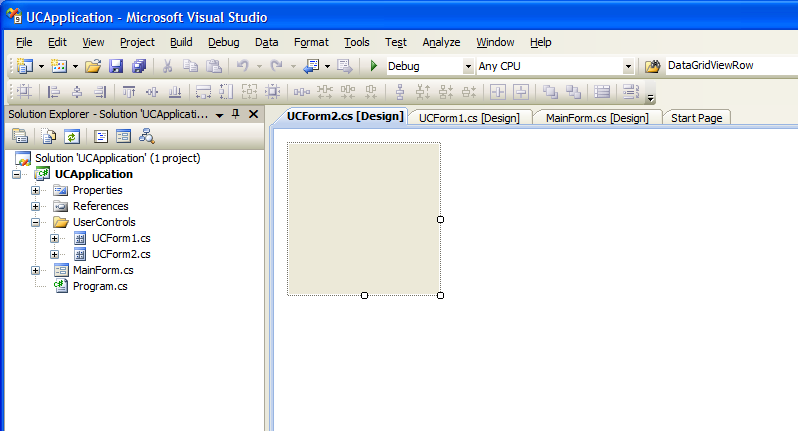
We can now right-click on the folder that we just created and select Add/User Control to create our first User Control for our application. We will name it as UCForm1. Repeat the same step to create a second User Control and name it as UCForm2.
Note: We use the prefix UC as a naming convention for all our User Controls.
Connecting the User Controls – Part 1
The next step is to add some code that will load and display our User Controls in the MainForm of our application.
We will use a pull-down menu in our MainForm to allow the user to invoke the User Controls (UCForm1 and UCForm2). Add a MenuStrip control to the MainForm (drag-n-drop from the toolbox to the MainForm), rename it as mainMenuStrip and replicate the structure as shown in figure 6.
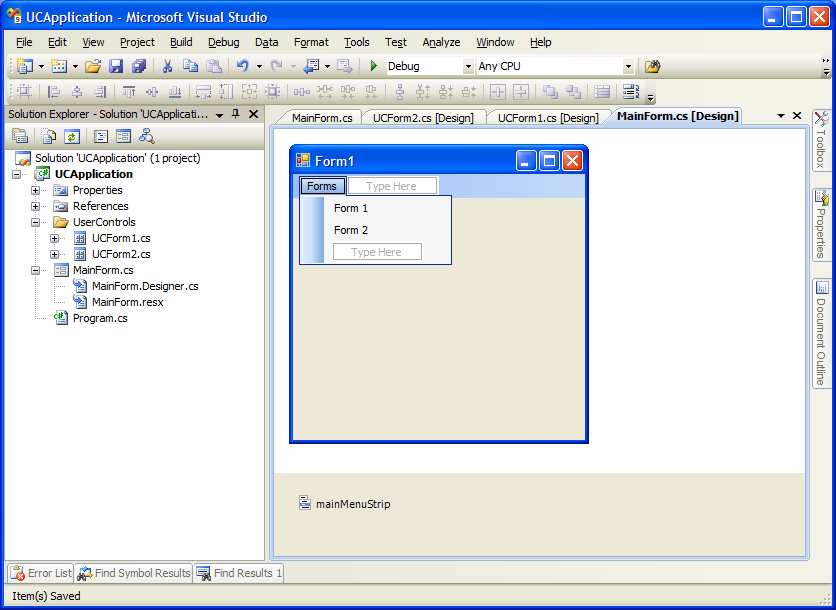
Double click on each of the menu items (“Form 1” and “Form 2”) to create the events that will fire up when the user clicks on each menu item.
Let’s add the User Controls to the MainForm. We need to add a private attribute for each User Control as shown below:
public partial class MainForm : Form

{

// User Controls

private UCApplication.UserControls.UCForm1 ucForm1;

private UCApplication.UserControls.UCForm2 ucForm2;
Now we need to instantiate the objects and add them to the pool of available controls of MainForm. We modify the class constructor as seen below:
public MainForm()

{

InitializeComponent();

// Instantiate the User Controls

ucForm1 = new UCApplication.UserControls.UCForm1();

this.Controls.Add(ucForm1);

ucForm2 = new UCApplication.UserControls.UCForm2();

this.Controls.Add(ucForm2);

}
We now need a mean of enabling and displaying the desired User Control while hiding all the other ones. We will create a method inside the MainForm class to handle this task.
/// Displays the selected UserControl.

/// Make sure that all the UserControls use UC as a prefix

///

The usercontrol that will be displayed private void DisplayControl(UserControl uControl)

{

string controlName = string.Empty;

foreach (Control c in this.Controls)

{

controlName = c.GetType().ToString();

// if the control is a usercontrol

//(i.e. starts with the string "UC")

if (controlName.StartsWith("UC"))

{

if (c == uControl)

{

// Enable

c.Dock = DockStyle.Fill;

c.Enabled = true;

c.Visible = true;

c.BringToFront();

}

else

{

// Disable

c.Dock = DockStyle.None;

c.Enabled = false;

c.Visible = false;

}

}

}

}
This method receives as argument the control that we want to display. It loops through the pool of available User Controls. Since all our User Controls start with the prefix ‘UC’, it concentrates on those and ignores all the other controls like buttons, menu items, etc.
When the desired control is located then the method enables it, makes it visible, set it to fill the available area of the MainForm and brings it to the front for our users to work with.
Connecting the User Controls – Part 2
Locate the events that we created for each menu item and in each event call the DisplayControl method and pass the desired User Control as argument as seen below:
 private void form1ToolStripMenuItem_Click(object sender, EventArgs e)

{

DisplayControl(ucForm1);

}
private void form2ToolStripMenuItem_Click(object sender, EventArgs e)

{

DisplayControl(ucForm2);

}
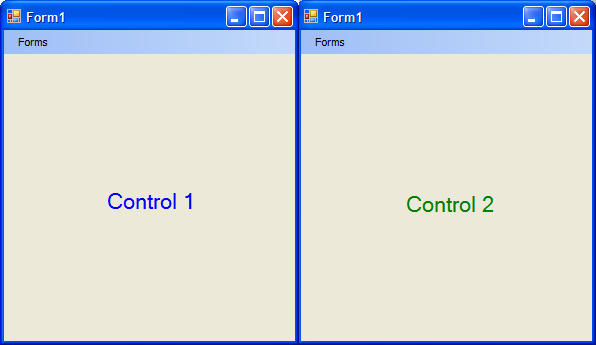
If you build and execute the application at this stage you may think that nothing happens and that you have wasted your time. Trust me this is not the case. What happens is that we have not customized each User Control so they are identical to each other.
For the purpose of this tutorial, we will simply add a label in each User Control with different text and color to distinguish them. Figure 6 demonstrate the result.
Conclusion
In this tutorial, I have demonstrated how we can group the presentation layer of our WinForm application under distinct User Controls that are presented through a single WinForm. In doing so, we keep our application with a consistent interface that does not confuse the user by having windows popping everywhere on the screen.
In cases, where we have lots of controls then we may want to modify the technique described in this tutorial so that it instantiates the controls upon request.
I hope that you have enjoyed the tutorial and that you found it useful.